Expertise
Global Capacity
Certified Quality
“Transforming raw fibers into elegant sun protection, the straw hat manufacturing process is a masterclass in weaving precision and heat molding.”
Straw Hat Manufacturing Process Guide: Weaving, Molding & Finishing Steps for Wholesale Buyers
Find quality straw hats for your wholesale orders. This guide covers essential specifications, quality standards, and sourcing tips for wholesale buyers.
Find quality straw hats for your wholesale orders. This guide covers essential specifications, quality standards, and sourcing tips for wholesale buyers.
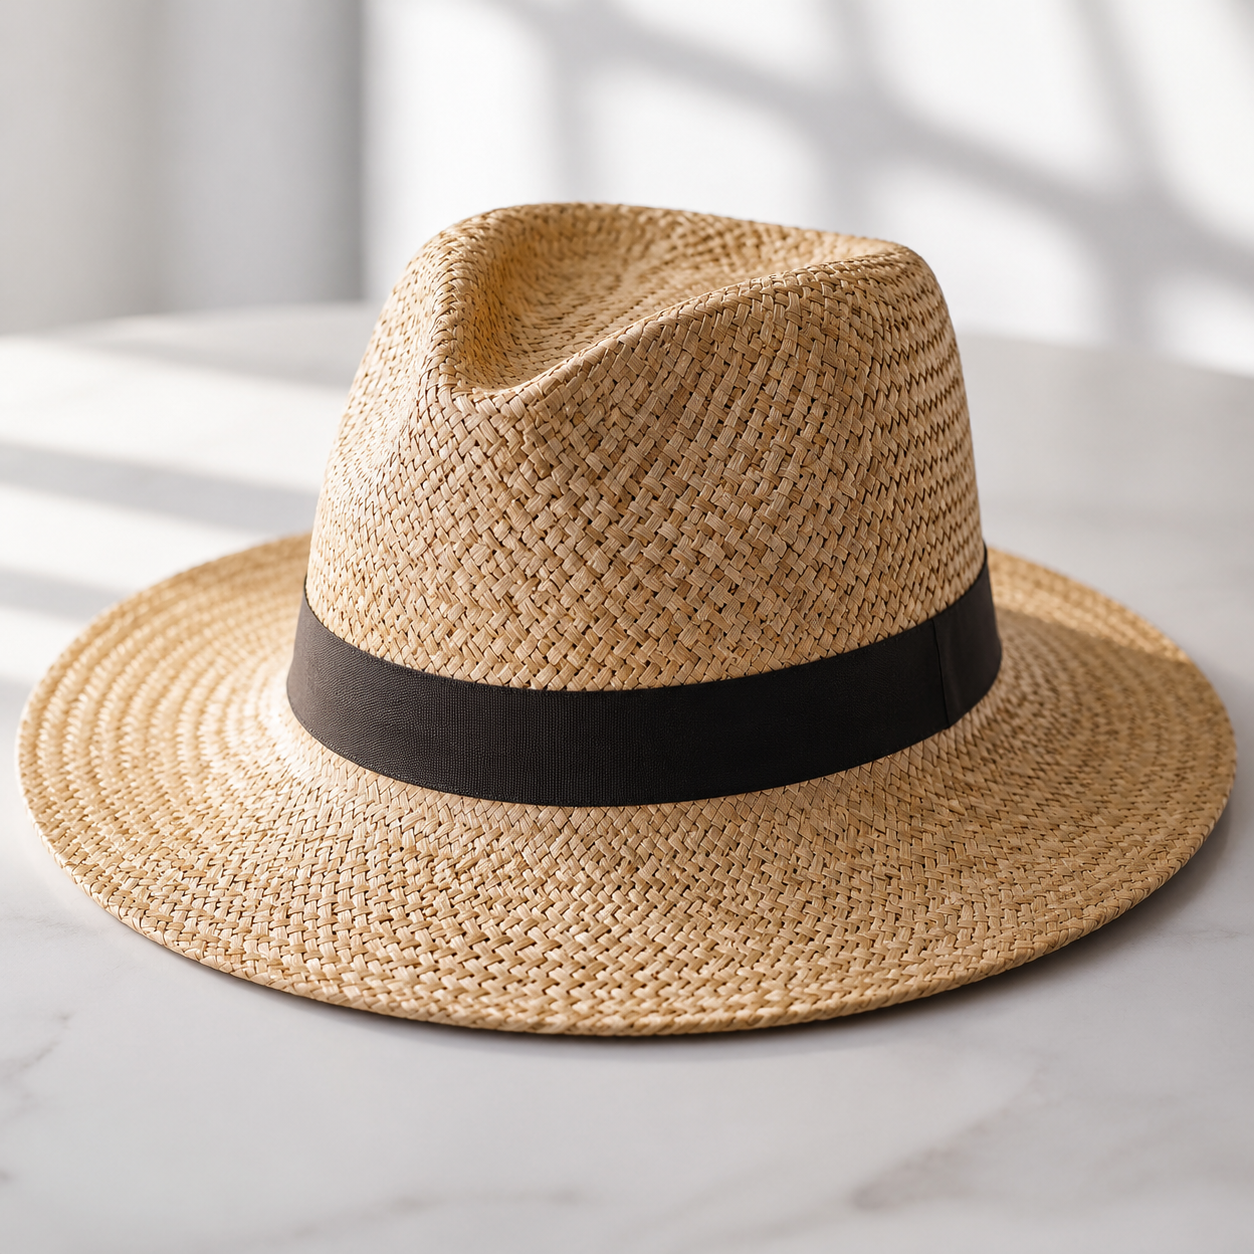
Every wholesale straw hat order starts with the same question: how is it actually made? The answer determines quality, lead time, cost, and your return rate. Weaving machine calibration, molding pressure, and finishing edge quality vary significantly between factories. For B2B buyers sourcing hundreds or thousands of straw hats, understanding the manufacturing process is essential for supplier evaluation.
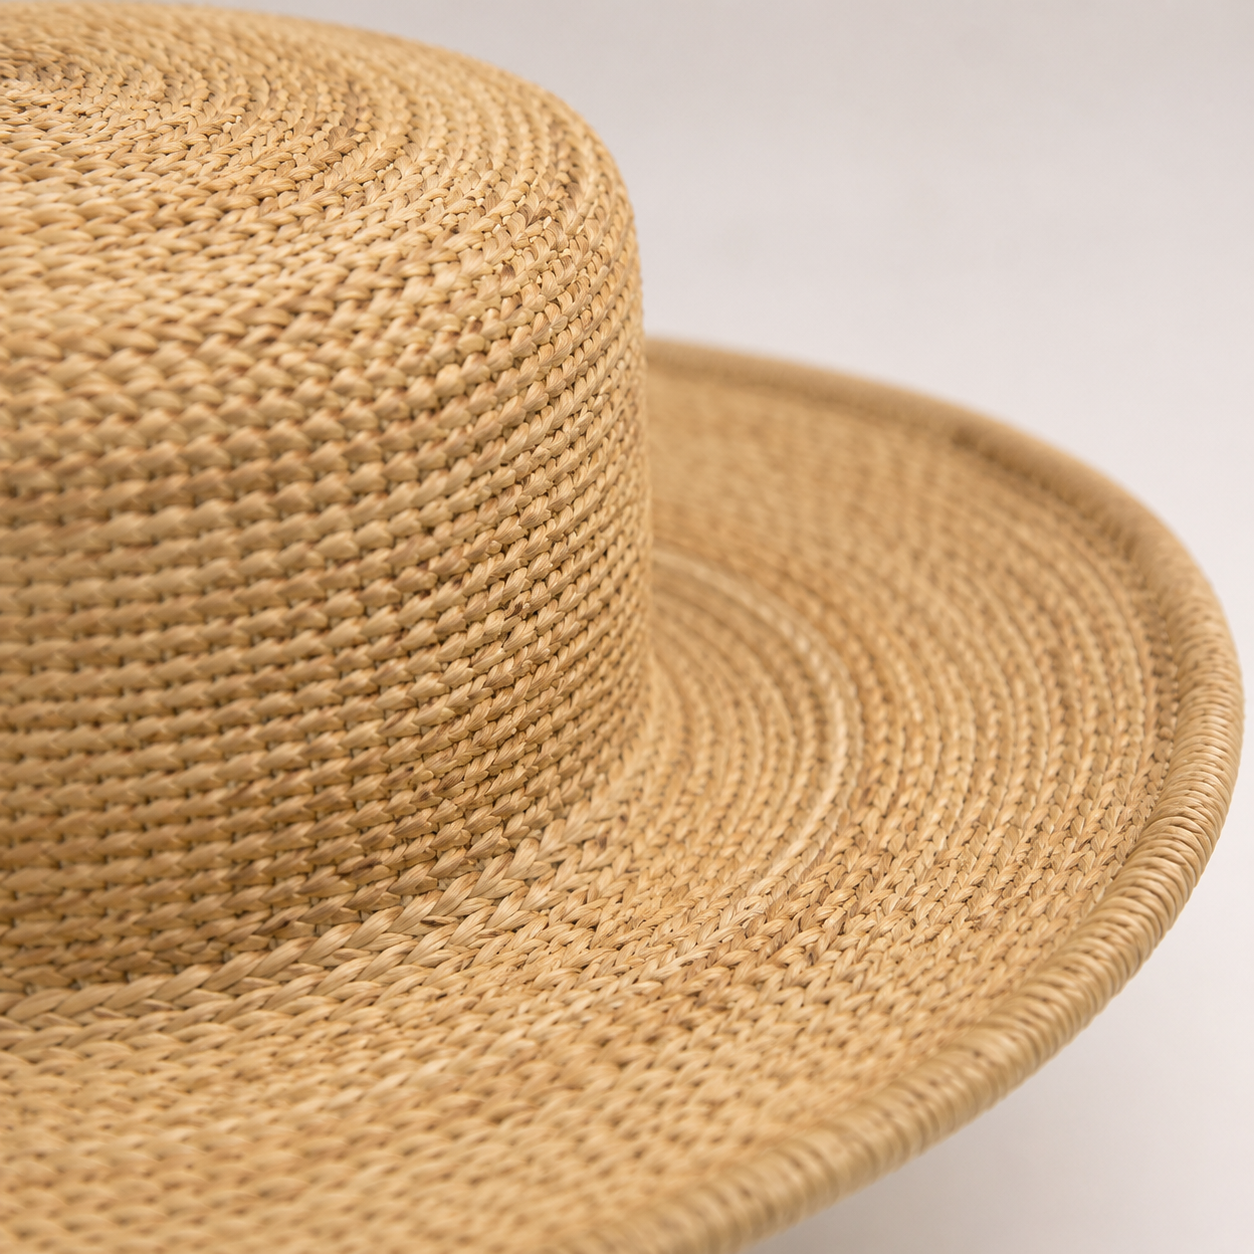
Straw Hat Manufacturing Process Overview: Five Stages
Problem: Most wholesale buyers approve a sample without verifying the factory’s production process. By the time defects appear in bulk shipment, it is too late to correct.
Root Cause: Straw hat manufacturing involves five distinct stages: material preparation, weaving or braiding, blocking and molding, brim cutting and edge finishing, and final assembly. Each stage has specific quality controls that factories may or may not perform. Without understanding these stages, a buyer cannot distinguish a capable manufacturer from one cutting corners.
Buyer Action: Require a process flow chart from prospective factories covering all five stages. Compare the described process against the sample quality before placing bulk orders.
Stage 1: Material Preparation — Straw Selection and Treatment
The raw material quality determines the final hat’s durability, flexibility, and appearance. The three most common straw materials in wholesale production are:
| Material | Source | Stiffness | Cost Rank | Best Use |
|---|---|---|---|---|
| Paper yarn / viscose straw | Twisted paper strips | Medium | Lowest | High-volume, budget-friendly hats |
| Sisal / raffia | Agave plant fibers | High | Medium | Outdoor and UV-resistant hats |
| Natural straw (wheat, toquilla, hemp) | Plant stalks | Varies | Highest | Premium and Panama-style hats |
Key checkpoints at this stage:
- Moisture content: Straw fibers must be conditioned to consistent humidity (55-65% relative humidity is standard). Overly dry straw cracks during weaving; overly wet straw shrinks after production.
- Surface treatment: Natural straw is often bleached or dyed before weaving. Verify color consistency across batches — natural straw absorbs dye unevenly.
- Strand thickness uniformity: Strands should be graded by thickness. Mixing thick and thin strands creates visible weave inconsistencies.
Buyer Action: Specify moisture conditioning in your tech pack. Ask the supplier for their raw material acceptance criteria and strand grading procedure.

Stage 2: Weaving and Braiding — Machine vs Hand Techniques
Straw hats are formed through weaving (interlocking strands) or braiding (plaiting strands together). The technique directly affects production speed, cost, and quality.
Machine Weaving
- Production speed: 30-60 hats per hour per machine.
- Weave consistency: Very high. Uniform strand spacing and tension.
- Limitations: Limited to simpler weave patterns. Less adaptable to shape variations.
- Common issues: Strand breaks when fiber quality is inconsistent; machine operators cannot adjust mid-hat.
Hand Braiding
- Production speed: 1-3 hats per day per artisan.
- Weave quality: Higher density potential. Artisans can tighten specific sections.
- Flexibility: Custom shapes and patterns possible. Used for premium hats.
- Risk: Inconsistent tension between different workers. Edge finishing varies by skill level.
Buyer Action: For machine-woven hats: inspect strand tension at the beginning, middle, and end of a batch run. For hand-braided hats: require all pieces from the same artisan group and set a sample standard for braid density.
Stage 3: Blocking and Molding — Shape Formation
After weaving, the flat or crown-shaped fabric is blocked — stretched over a hat mold (block) and set into shape using heat, steam, and pressure.
- Steam blocking: The most common method. Steam softens the straw, allowing it to conform to the block. Duration: 30-60 seconds per hat. Too little steam leaves the material springy; too much causes fiber damage.
- Cold blocking (non-thermoplastic straw): Natural straw that does not respond to heat must be blocked mechanically and held in position with sizing agents or internal wire frames.
- Brim curve molding: Brims are pressed between heated dies to set the final curvature. Uneven die pressure creates wavy brim edges.
Buyer Action: Verify blocking duration and temperature settings in the factory. Test shape retention by flexing the brim and crown 10 times — the hat should return to its original shape without permanent deformation.
Stage 4: Brim Cutting and Edge Finishing
The brim edge is cut to final shape and finished. This stage has the most visible quality indicators.
- Die-cut vs hand-cut: Die-cut brims are uniform within 0.5 mm tolerance. Hand-cut brims vary based on the cutter’s skill — expect 2-5 mm variation.
- Edge binding: A fabric or straw braid is sewn around the brim edge. The binding must be straight and tight. Loose binding causes the brim to curl over time.
- Raw edge finishing: For unbound brims, the edge must be singed or resin-sealed to prevent unraveling. Check for fraying at the edge — a sign of skipped finishing.
Buyer Action: Specify die-cut brims for orders over 500 pieces. Run a finger along the brim edge — any rough or fraying spots indicate poor finishing. Check edge binding alignment at the brim curve.
Stage 5: Final Assembly — Sweatband, Trim, and Label
The final assembly adds functional and branding elements. Three critical quality checks:
- Sweatband attachment: Inner sweatbands must be sewn or glued evenly. A misaligned sweatband shifts the hat’s fit. Pull test: the sweatband should not separate under 2 kg of force.
- Hatband / trim application: Decorative bands are glued or stitched. Glued bands fail faster — the glue degrades in heat and moisture. Specify stitched attachment for durable products.
- Care label and branding: Labels must be sewn flat without wrinkles. Placement should be consistent across all units within 5 mm tolerance.
Straw Hat Manufacturing QC Checklist for Wholesale Buyers
Use this 8-point checklist when evaluating a factory’s production process or inspecting pre-production samples:
- Raw material: straw type specified, moisture-conditioned to 55-65% RH. Strand thickness graded.
- Weave density: measured as strands per inch or braids per cm. Minimum 5 strands per inch for standard quality, 8+ for premium.
- Weave tension: check for loose or tight strands across crown, brim, and transition zone.
- Blocking: steam duration and temperature documented. Shape retention tested (10 flex cycles).
- Brim cut: die-cut if order > 500 pcs. Edge aligned within 1 mm tolerance.
- Edge finishing: binding straight and tight, or raw edge sealed. No fraying.
- Sweatband: aligned, attached with reinforcement stitching. Pull test passes minimum 2 kg.
- Trim and labels: hatband stitched (not glued), label placement consistent within 5 mm.
How to Use Manufacturing Process Knowledge in Supplier Selection
Understanding the five stages of straw hat manufacturing gives you leverage in supplier negotiations. When a factory claims “premium quality,” you can ask specific process questions:
Factories that can answer these questions with specific numbers and documented procedures are more likely to deliver consistent quality across bulk orders.
FAQ
What is the most common defect in machine-woven straw hats?
Strand breaks during weaving, which create gaps or uneven sections in the weave. This is most often caused by inconsistent raw material thickness. Inspect the weave continuity across the entire surface.
How long does the straw hat manufacturing process take?
A typical machine-woven straw hat takes 30-60 minutes from raw material to finished product. Hand-braided hats take 1-3 days per piece depending on weave density and size. Plan lead times accordingly — minimum 30 days for machine-woven production orders, 60-90 days for hand-braided.
Can I mix machine-weaving and hand-finishing in the same order?
Yes — many factories machine-weave the crown and body, then hand-finish the brim edge and trim. This hybrid approach balances cost and quality. Make sure to specify which sections are machine vs hand in your tech pack to avoid inconsistency.
Get Expert Help Sourcing Quality Straw Hats
Understanding the straw hat manufacturing process helps you evaluate suppliers, prevent defects, and negotiate better terms. Share your spec sheet with us and we will help match you with verified manufacturers.
Ready to source straw hats with verified production quality? Browse our straw hat wholesale collection or send your specifications for a free production feasibility review.
See our complete wholesale hat selection for more options.
See our complete wholesale hat selection for more options.
HongYueCap–JinGuangFu

Written by the Hongyuecap Product Team — 10+ years in B2B custom headwear manufacturing. Last updated: May 23, 2026.